Installing WordPress on Windows may seem like a complicated process, but it is easy if you do it carefully. Here in this blog, we have put together a few most effective and easy steps to install WordPress on localhost.
Whatever the reason, you’ll enjoy reading the guide through this blog. Before starting to learn how to install WordPress in Windows 10, first, let’s analyze what WordPress is?
What is WordPress? Explained for Beginners
WordPress is the easiest way to create your website. In addition, it is the best known and most searched CMS on the internet, also known as the content management system. It lets you test out the latest WordPress features, understand how to grow with WordPress, quickly set up flexible blogs, and build websites before submitting to the live server. Therefore, more than 39% of websites are powered by WordPress. Another fact that makes WordPress successful is its open-source. This license allows anyone to use and modify WordPress for free.
Some beginners are confused about WordPress.org and WordPress.com. In short, WordPress.org is truly open source and FREE for anyone to use, distribute, and modify. Plus, it’s self-hosted, which means you can host it with any hosting company or even install it as a local host on your Windows 10 PC.
Now that you are aware of WordPress, its presence in the global market and benefits, know the simple ways to install it on Windows 10 and localhost.
A step-by-step guide to install WordPress on Windows 10, localhost and Ubuntu
Installing WordPress on Localhost
Installing WordPress on localhost takes a lot of work, but the guide in this blog has made the process easy for you. Read the steps and learn how to install WordPress in localhost?
Step 1: Download a Local Server Software
The local server software creates a localhost environment and install WordPress on Windows 10 localhost. For example, MAMP is the best cross-platform heap package for web server solutions. Since WordPress is written in PHP, it needs a platform to work. MAMP is the best and second to none method for this. Also, you can use the development environment of your choice depending on your operating system, “MacOS or Windows”.
Step 2: Install MAMP Server
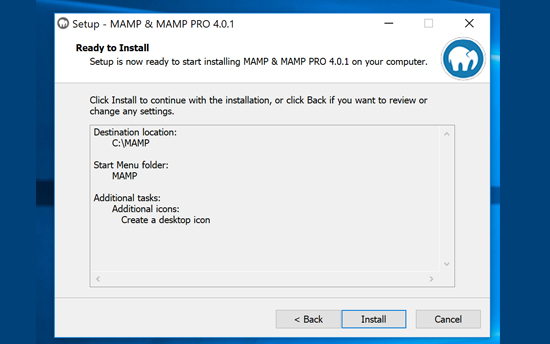
As the second step,
- Click the downloaded MAMP and MAMP Pro package file to run the installation program.
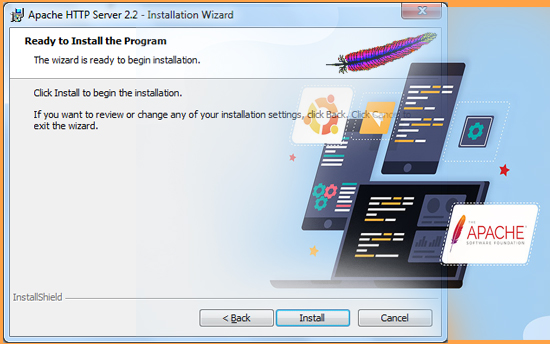
- Now you need to click “Next” on some subsequent pop-ups until you see the “Install” option.
- Click Install if you agree to the software license terms and conditions.
Step 3: Run MAMP on Your Computer System
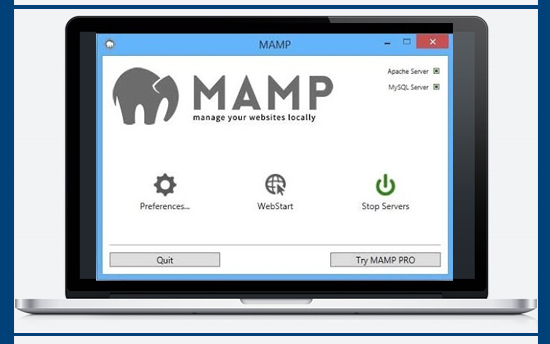
- Run MAMP on your computer system.
- Once you have successfully installed MAMP, run MAMP on your laptop or computer system and click Start Servers.
- After starting the servers, the system will automatically take you to a success page in your default browser where certain information will be displayed. Your MAMP is currently fully operational.
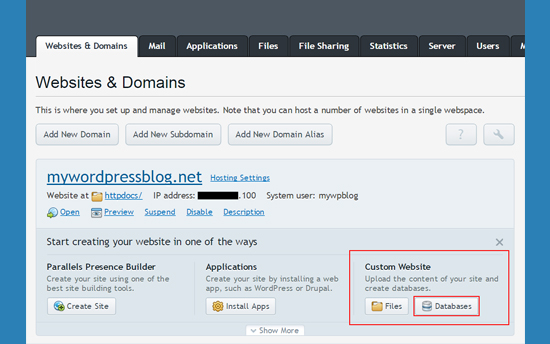
Step 4: Create a Proper Database
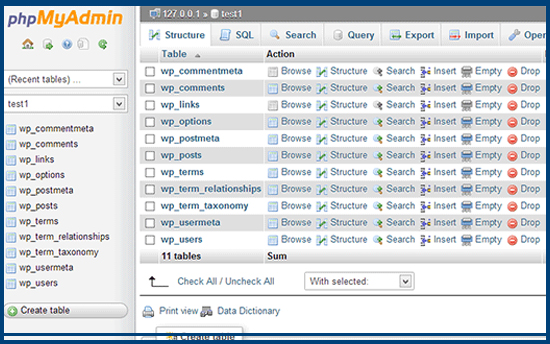
Your WordPress website needs a suitable database to store your data. To do this,
- Go to localhost / PHPMyAdmin in your browser.
- Then click New and give it a simple name.
- Then click “Create” again to complete the process.
Always keep the “database name” in mind as you will want to use it in the future.
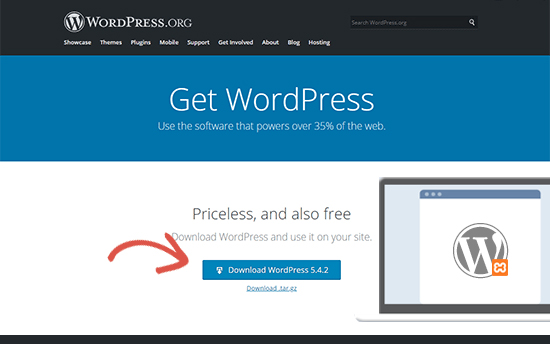
Step 5: Download WordPress
To install WordPress on localhost, you need to download WordPress from the official website. Quickly extract the downloaded zip file.
Step 6: Put WordPress in MAMP’s htdocs
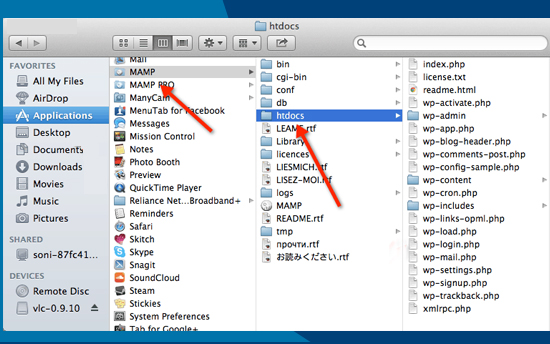
At this point, you need to go to the MAMP directory on your laptop or computer system drive. Now unlock the “htdocs” folder (found in the MAMP directory) and paste the unzipped WordPress folder there.
Step 7: Install WordPress on Localhost
Finally, you need to run this type of localhost / WordPress (whatever your WordPress file name is in the htdocs) in the address bar of your laptop or browser and click Enter. Currently, take a few more actions to complete the WordPress installation on localhost. Finally select the language and click “Next”. Finally, click on “Let’s go!” Press the key on the next page.
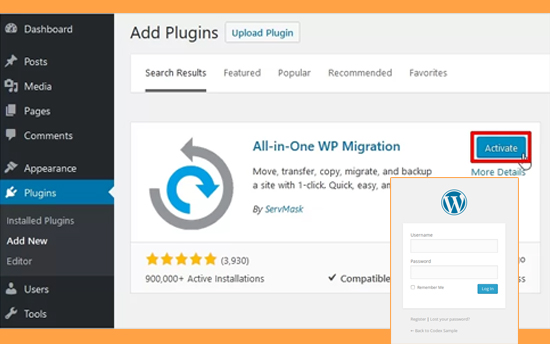
Now the WordPress has been installed.
- Once you click on Admin, you will be prompted to enter your username and password.
- Write Oss and password
Yes! WordPress has been installed successfully.
How To Install WordPress in Windows 10?
Installing WordPress on Windows 10 may seem complicated, but it’s easy if you do it carefully. Here we have compiled the steps to install WordPress on Windows 10.
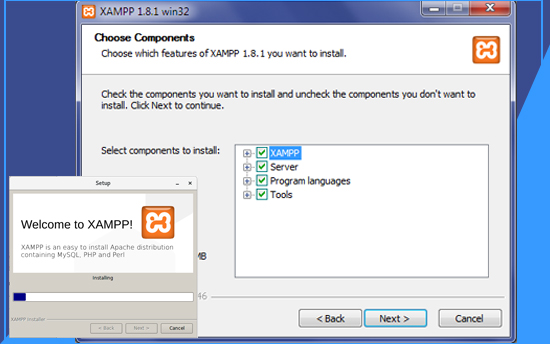
Step 1: Download and Install XAMPP
WAMP was explicitly developed for Windows, while XAMPP is cross-platform and works on both operating systems. In addition, you can also host and modify regular Internet sites on Windows with XAMPP.
Here we continue with XAMPP because the procedure does not change for you if you change your operating system. However, if you want to use WAMP, you can configure your own WAMP server here.
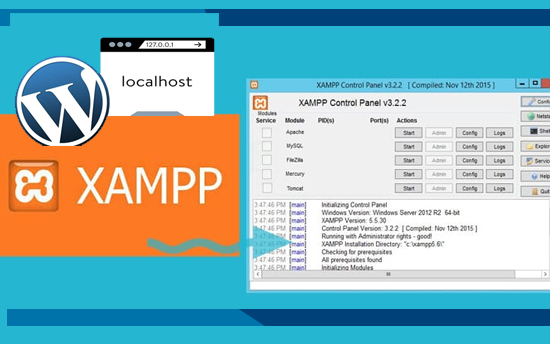
Now you need to download and install XAMPP on-premise. And as soon as XAMPP is running on your laptop or computer system, the XAMPP control panel will be visible on your screen. Here, you can conveniently control and operate your PC’s server and database functions via the control panel.
Now you need to click the Start button next to Apache and MySQL to start their functionality on your computer.
If the background color of the names changes to light green, this indicates that the modules started and functioned correctly. You can stop them at any time with the stop button. Also, you can easily ignore the extra features like Mercury, Tomcat, FileZilla, etc. Unless you know you need them, leave them out to avoid putting additional pressure on your server.
Step 2: Create a Localhost Database
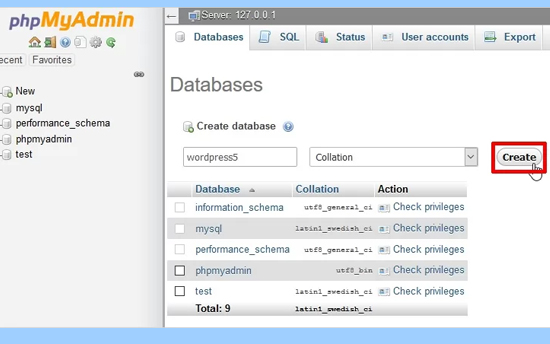
XAMPP includes MySQL. Then you can create a unified database to use it. Now click on the ‘Admin’ option next to MySQL in the XAMPP control panel. It will take you to the phpMyAdmin database panel.
Now select New in the left sidebar, enter your specific database name and select the type of classification. Clicking the Create button will create a localhost database.
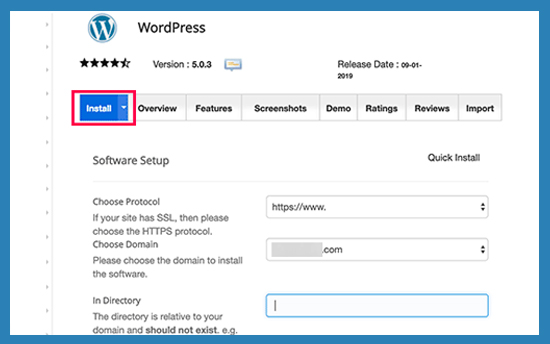
Step 3: Download the latest version of WordPress
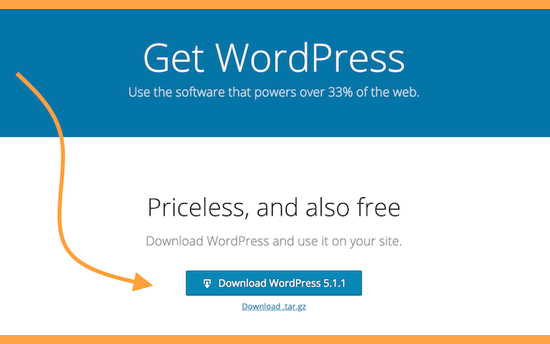
Always download the latest version of WordPress: Download WordPress.
You will get a compressed folder with WordPress files. Just extract the file, and you will see a folder with the main WordPress files. Give the folder a new name as the name of the database (my site). Keep the name similar for both the database and the WordPress folder. The database and files need to be synchronized.
Try navigating to Explorer> htdocs in the XAMPP control panel. Then add the newly named WordPress file & # 40; mysite & # 41; in the htdocs folder.
Step 4: Install WordPress and create a localhost website
Now start your web browser. Go to the address bar and type localhost / mysite and hit enter. At this point, mysite is the name of the server.
If this WordPress install window appears, then you’ve done brilliantly up to this point. If not, check and repeat the steps above. Choose your favorite language and click Next to continue.
In the next window, you need to select the database you want to use with your WordPress localhost website. Fill in the areas as follows:
- Database name: mysite (the database we created directly above)
- Username: root
- Password: (leave this area blank)
After completing the areas, now click the Submit button at the bottom of the page.
In the window that opens, click the Install button to start the WordPress installation.
Enter your site title, select username, password, and enter an email address on the next page. Later, click the Install WordPress button. In a few moments, you will see WordPress installed on your windows with ease.
To stay on your WordPress localhost website, enter localhost/mysite in the address bar of your web browser.
Step 5: Login to your WordPress Localhost website
- All you need to do is enter localhost / mysite / wpadmin in your address bar. It will take you to the login page.
- Enter the previously selected username and password to log into your localhost Windows WordPress website.
If you want to change the password for your localhost website, navigate to Users, then All Users, then Admin, and then New Password / Change Password. If you have not changed the default password, you may be prompted to enter a different password instead of changing the password.
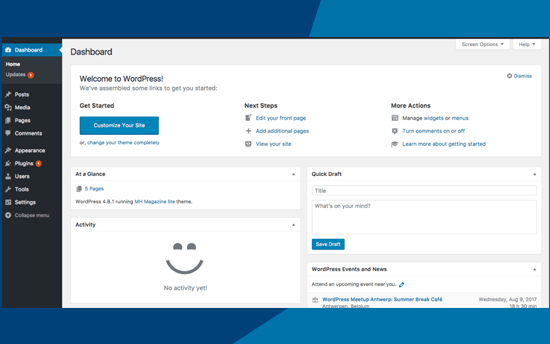
Now you must visit the WordPress dashboard and discover all the buttons to customize your site in the exhibition to start customizing. By clicking the button, you will access the website customization menu.
You can make numerous changes to your localhost website directly from the customization menu. WordPress version 5.7 introduced changing background themes, widgets, menu, site color, and a few others in a structured customization menu.
How To Install WordPress in Ubuntu
Now that you know the steps to install WordPress in localhost and Windows 10, further understand how to install the LAMP stack before proceeding with the WordPress installation on Ubuntu.
Step 1: Install Apache Web Server
To install Apache webserver easily, a problem with the following command:
$ sudo apt-get install apache2 apache2-utils
We have to allow Apache2 webserver to start in system start since now start You can use the service as follows:
$ sudo systemctl enable apache2
$ sudo systemctl start apache2
Start your web browser and go to http://server_address to check that the server is working correctly. The standard Apache2 index page is displayed if the webserver is running.
Step 2: Install MySQL Database Server
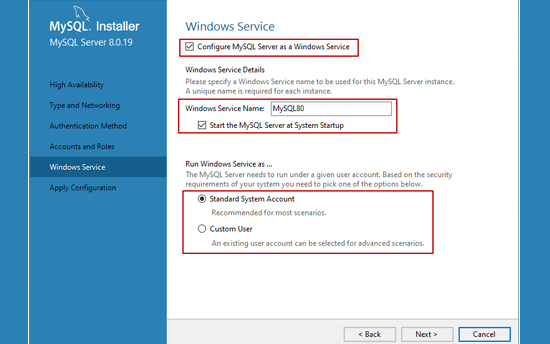
Install MySQL database server. Later install the MySQL database server by running the following command:
$ sudo apt-get install mysql-client mysql-server
If you want to install MariaDB, you can install the following command use.
$ sudo apt-get install mariadb-server mariadb-client
During package installation, you will be prompted to set the root password for MySQL. Choose a solid and secure password, then click the OK button twice to continue.
The database server implementation is not protected yet, so the following command is a problem to increase your security:
$ sudo mysql_secure_installation
At first, you will be prompted to install the ‘validate_password’ plugin, so enter Y / Yes and press Enter, then select the security level of the default password.
If you do not want to change the root password, enter N / No when prompted—answer Y / Yes to the rest of the following questions.
Step 3: Install PHP and the modules
Finally, install PHP and a small number of modules to be successful with the web and database servers by executing the following command:
$ sudo apt-get install php7.0 php7.0-mysql libapache2-mod-php7.0 php7.0-cli php7.0-cgi php7.0-gd
Moreover, to check if php is functioning in partnership with the web server, we require to generate a info.php file inside /var/www/html.
$ sudo vi /var/www/html/info.php
And quickly paste the code beneath into the file, save it, and immediately exit.
<?php
phpinfo();
?>
Once done, launch your web browser and enter the address http://server_address/info.php. You should be able to see the PHP information page below for confirmation.
Step 4: Install WordPress CMS
Download and extract the latest WordPress package by releasing the following commands in the terminal:
$ wget -c http://wordpress.org/latest.tar.gz
$ tar -xzvf latest.tar.gz
Then immediately move the WordPress files from the extracted folder to the standard Apache root directory, /var/www/html/:
$ sudo rsync -av wordpress/* /var/www/html/
Later, set the permissions on the website directory, that is, give the web server ownership of the WordPress files as follows:
$ sudo chown -R www-data:www-data /var/www/html/
$ sudo chmod -R 755 /var/www/html/
Step 5: Create WordPress Database
Implement the following command and enter the password of the root user, then press Enter to switch to the mysql shell:
$ mysql -u root -p
Using mysql shell, type the commands below and hit enter after each line of a MySQL command. Consider using your reasonable values for database_name, databaseuser, and use a strong and secure password for databaseuser_password.
Go the /var/www/html/ directory and give new name to existing wp-config-sample.php to wp-config.php:
$ sudo mv wp-config-sample.php wp-config.php
Then check this with your database information in MySQL Settings.
Later, open the web server and mysql service again with the commands at:
$ sudo systemctl restart apache2.service
$ sudo systemctl restart mysql.service
Start your web browser and then enter your server address again: http : / / serveraddress to see the welcome page below. Read the page and click “Let’s go!” to continue and complete any questions on the screen.
Few Important Tips To Follow:
Install WordPress on localhost, but with a good domain name.
LocalWP
It supports two web servers Nginx and Apache, making it an ideal application for developers who love Nginx.
Webserver
You can test your website with the latest technology to see if it breaks or makes your website faster.
Latest technology
The best of everything? It has a dark mode feature and many more.
Dark mode
It’s easy. You no longer have to worry about downloading the WordPress zip file or messing with different MySQL or phpMyAdmin database settings. Just fill in some information, and your WordPress will become a live site instantly.
Conclusion
We are in 2021, and we should use up-to-date, fast, and responsive technology. People should switch to LocalWP not because we are connected to them anyway, but it has saved us countless hours in the long run. By installing WordPress in your RAM, you will get the work done 30 times faster than your SSD. Hope you enjoyed the tutorial.
With the expectation that everything went well, you can now enjoy WordPress on your system. If you are looking for one of the best website development companies in India, approaching PNJ SharpTech will be one of the best decisions. PNJ SharpTech, are a leading company designing digital solutions from concept to implementation, data migration, API integration and plugin development with total ingenuity. The best team develop powerful and easy to manage WordPress websites development for valued clients with high quality business results.
Install WordPress in RAM to make it ten times faster!